
Direct Answer: Most people who floss regularly are still missing plaque because of technique errors, snapping, skipping the curve, or reusing the same section of floss across multiple teeth.
If you floss every day and still hear from your hygienist that your gums are inflamed, or you still see bleeding every time, something is off with the technique, not your gums. This is one of the most common frustrations we hear from patients, and it almost always comes down to a handful of fixable habits.
This list is not a beginner’s guide. You already know flossing matters. What this is, is a troubleshooting walkthrough for people who are putting in the effort and still not getting results. Each item below is something our hygienists correct regularly during appointments here in Surprise, explained in plain language so you actually understand why the correction matters.
Work through these one at a time. Fixing even one of them can make a real difference in what your next cleaning looks like.
1. You’re Snapping the Floss Down Instead of Sliding It
This is probably the most common mistake we see, and it’s easy to do without realizing it. When you snap the floss aggressively between your teeth, it hits the gum tissue like a small whip. That causes irritation, and over time, it can actually damage the gum rather than clean it.
The correct motion is a gentle side-to-side sawing action to get the floss through the contact point between teeth. Once it’s through, ease it down slowly. You’re not forcing anything, you’re guiding it.
Snapping also tends to bounce the floss right back up before it does any real work below the contact point, which means you’ve gone through the motion of flossing without actually removing the buildup that matters.
2. You’re Not Curving the Floss Around the Tooth
Most people move the floss straight up and down between teeth in a vertical line. That cleans the side of the tooth, but teeth are not flat. They have a rounded surface that curves slightly toward the gum, and that curve is where plaque likes to hide.
The fix is the C-shape technique. When the floss reaches the gumline, curl it around one tooth so it hugs the tooth surface. Slide it up and down a few times on that surface, then re-curve it around the neighboring tooth and repeat. You’re cleaning two tooth surfaces at every gap, not just passing through the middle.
This one change, curving instead of going straight, is probably the single biggest improvement most people can make to their flossing results.
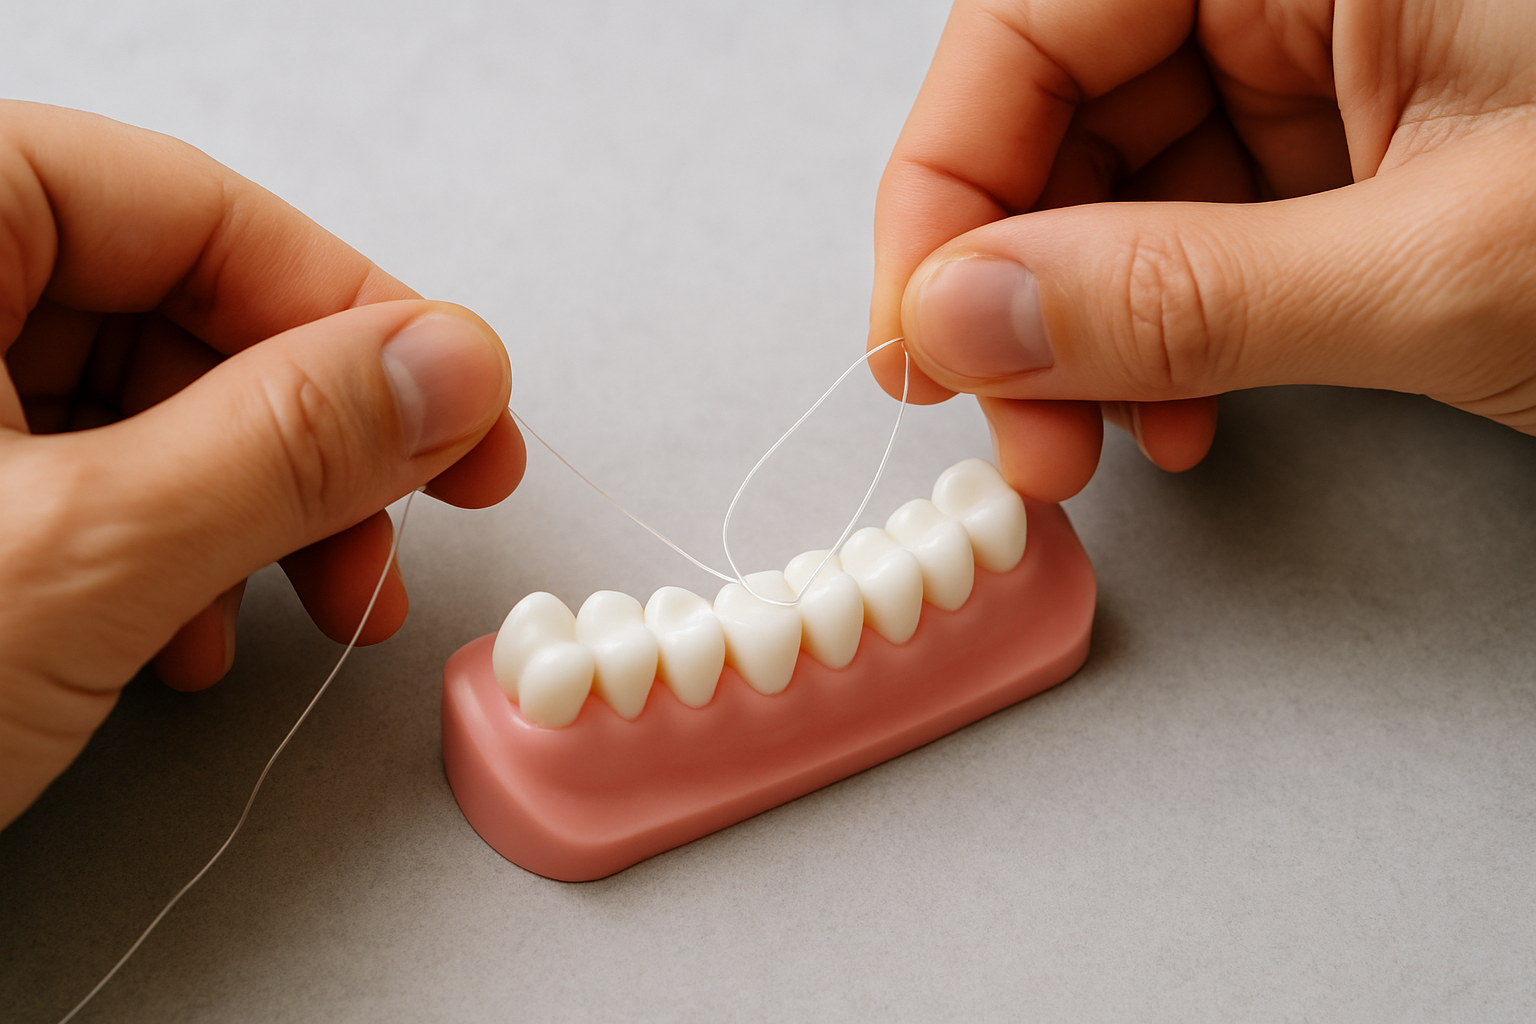
3. You’re Stopping at the Gumline Instead of Going Just Below It
The gumline is not the finish line, it’s where the real work starts. Plaque doesn’t just sit on the surface of your teeth. It accumulates in the sulcus, which is the tiny space between your tooth and your gum tissue, usually about 1-3 millimeters deep.
You don’t need to force the floss deep into the gum. But you do need to let it slip just slightly below the gumline, gently, while maintaining the C-curve, so it can sweep that pocket clean. If you stop at the gumline every time, you’re leaving behind exactly the buildup that leads to gum disease.
This feels a little uncomfortable at first, especially if your gums are already inflamed. But gentle, consistent flossing below the gumline is what actually reduces that inflammation over time.
4. You’re Using the Same Section of Floss for Every Tooth
If you use the same 1-inch section of floss from the first tooth to the last, you’re not cleaning, you’re redistributing. Plaque and bacteria picked up from the first gap get carried directly into the next one.
The standard recommendation is to start with 18 inches of floss, wind most of it around one finger, and advance to a clean section as you move from tooth to tooth. That sounds like a lot, but it goes quickly. Each contact point gets a fresh section, and nothing from one area gets transferred to another.
This is especially worth paying attention to if you have a crown, bridge, or implant, where bacteria in adjacent areas can affect the long-term health of that restoration.
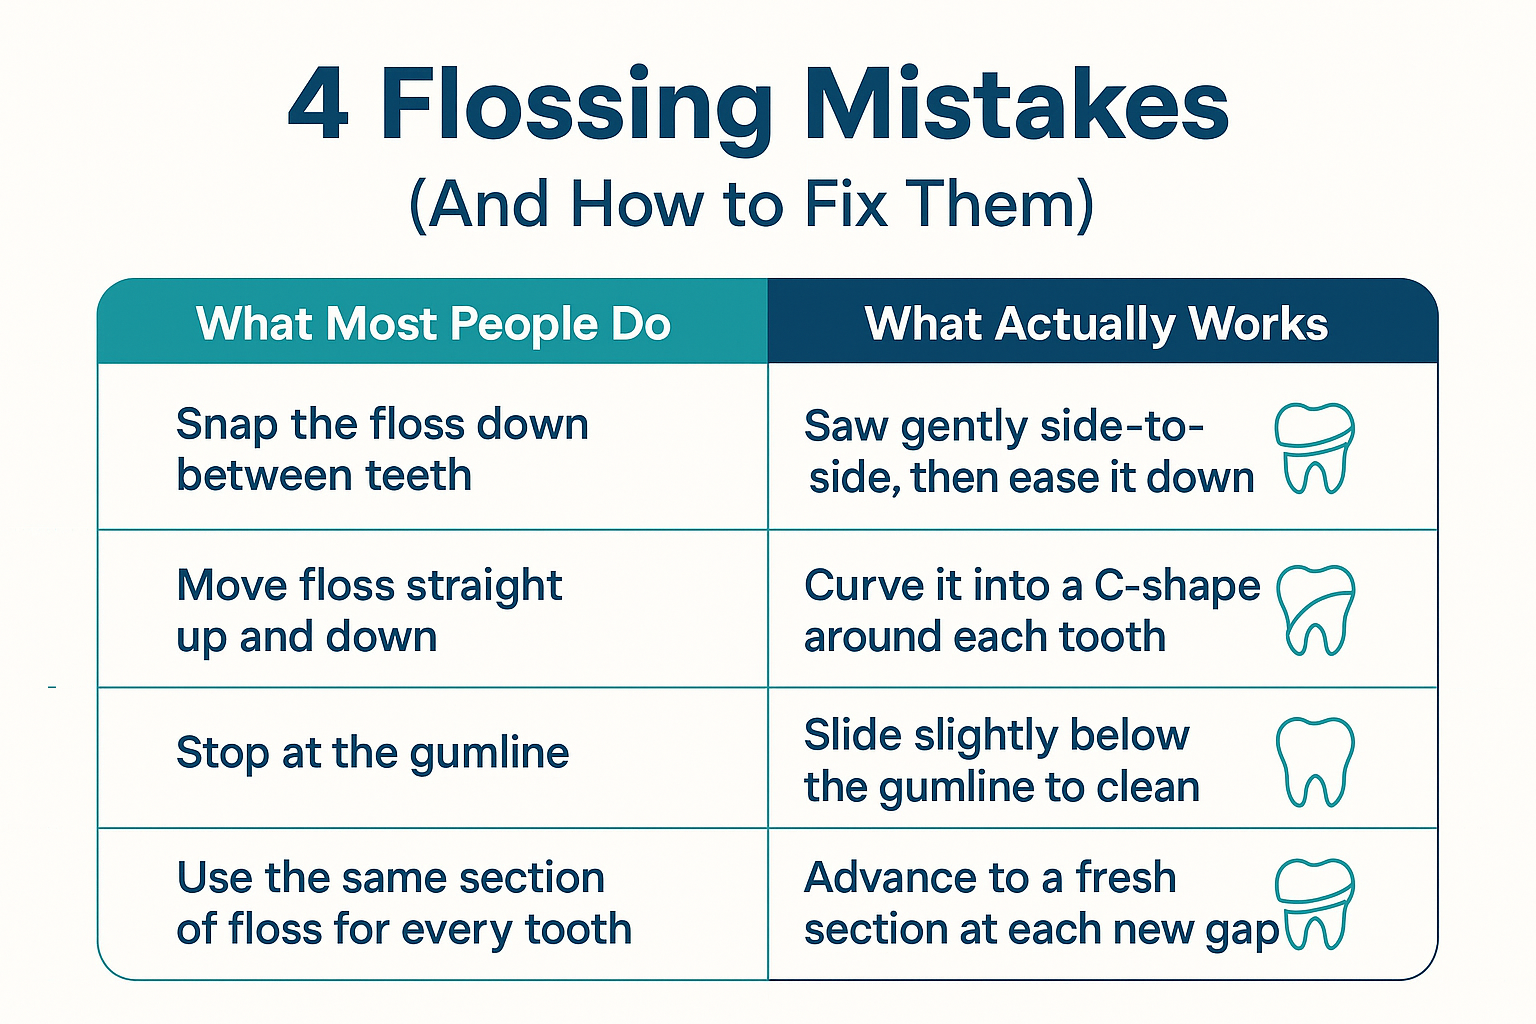
The 4 Most Common Flossing Mistakes at a Glance
Here’s a quick visual summary of the four technique errors covered in this article and the simple fix for each one.
5. You Quit When Your Gums Bleed
Bleeding is the number one reason people stop flossing. The logic seems reasonable: if it bleeds, you must be doing something wrong, or your gums must be too sensitive for it. But that’s almost always backward.
Bleeding gums during flossing are typically a sign of inflammation caused by plaque buildup, the exact problem that flossing is supposed to address. When you stop flossing, the buildup continues, and the inflammation gets worse. When you keep flossing gently and consistently, most patients see bleeding reduce significantly within two to three weeks as the gum tissue calms down and heals.
The key word is gently. If you’ve been snapping or scrubbing aggressively, back off on the pressure, don’t back off on the habit. If bleeding is heavy, persists beyond three weeks of proper technique, or is accompanied by pain or swelling, that’s worth mentioning to your hygienist. But mild bleeding from newly started flossing is almost never a reason to stop.
According to the American Academy of Periodontology, consistent interdental cleaning is one of the most effective ways to reduce gum inflammation, and stopping because of initial bleeding makes the underlying condition worse, not better.
6. You’re Using the Wrong Tool for Your Situation
Traditional string floss is not the only clinically acceptable option, and for some patients it’s genuinely not the best one. This is something our team talks through with patients regularly, especially those who have told us that flossing is hard to keep up with.
Here’s how the main alternatives break down:
- Water flossers use a pressurized stream of water to flush out plaque and food from between teeth and below the gumline. They’re excellent for patients with bridges, implants, or braces, anywhere string floss is hard to thread or gets stuck. They don’t replace string floss entirely for everyone, but for some patients they’re a realistic daily habit where string floss wasn’t.
- Interdental brushes (tiny brush picks that fit between teeth) are often more effective than floss for people with larger gaps between teeth or significant gum recession. They physically scrub the tooth surface rather than just passing through.
- Floss picks are more convenient than string floss for many people but have one real limitation, you can’t re-angle them the way you can with string, so the C-curve technique is harder to execute. They’re better than nothing, but standard floss gives you more control.
For patients in Sun City and Sun City Grand who deal with arthritis or limited hand dexterity, the grip and fine motor demands of traditional floss can make consistent use nearly impossible. A water flosser or interdental brush is often a much more practical long-term solution. If you’re not sure which tool fits your mouth and your situation, ask your hygienist at your next visit, that’s exactly the kind of specific, no-judgment guidance we give every day.
Flossing Tools Compared by Patient Situation
Not every tool works equally well for every mouth. Here’s a plain-language breakdown to help you match the right option to your situation.
| Tool | Best For | Limitation |
|---|---|---|
| String floss | Most patients with healthy, normally spaced teeth | Requires dexterity; harder to use with bridges or implants |
| Water flosser | Bridges, implants, braces, limited dexterity | Does not physically scrape tooth surface the way floss does |
| Interdental brushes | Wide gaps, gum recession, larger spaces between teeth | May not fit tight contact points between closely spaced teeth |
| Floss picks | On-the-go convenience, travel, people new to flossing | Harder to maintain C-curve technique; one section of floss reused |
Frequently Asked Questions About Flossing Correctly
How long should flossing actually take?
Done properly, with a fresh section of floss for each gap and the C-curve technique at each tooth, flossing a full mouth usually takes about 2 to 3 minutes. If it’s taking you 30 seconds, you’re almost certainly moving too fast to do it right.
Is it better to floss before or after brushing?
Flossing before brushing is generally the more effective sequence. Flossing first loosens plaque and food from between teeth, and then brushing sweeps it away and lets fluoride from your toothpaste reach the newly cleaned surfaces between teeth. That said, flossing after brushing is far better than not flossing at all, don’t let sequencing become a reason to skip it.
My gums have been bleeding for more than a month. Should I just see the dentist?
Yes, at that point it’s worth a visit. Mild bleeding that shows up when you first start flossing consistently is normal and usually resolves within two to three weeks. If it’s been a month of proper, gentle technique and you’re still bleeding, that can be a sign of gum disease that needs professional attention, not just better home care. Our team can assess what’s going on and talk through the right next steps.
Can a water flosser completely replace regular floss?
For some patients, particularly those with implants, bridges, or dexterity issues, a water flosser used consistently and correctly can be a very effective primary interdental cleaning tool. For patients without those specific situations, most hygienists still recommend string floss as the first choice because of how it physically contacts the tooth surface. If you’re not sure, bring it up at your next cleaning, the answer depends on what’s actually going on in your mouth.
I have a bridge. How do I floss under it?
You need to get the floss beneath the bridge, the artificial tooth in the middle, and clean along the gumline below it. A floss threader (a thin, flexible needle-like loop) lets you thread regular floss underneath the bridge. Water flossers are also very well suited to this situation. Your hygienist can walk you through the exact steps for your specific restoration at your next visit.
Suggested Internal Links — add real URLs before publishing:
- preventive dentistry in Surprise — Overview of the practice’s preventive care services, including cleanings, exams, and at-home care guidance
- periodontal therapy — What gum disease treatment looks like, including scaling and root planing, for patients whose gum health needs more than a routine cleaning
- dental exams and cleanings — What happens at a routine dental cleaning and why professional cleanings reach what home flossing cannot
- dental crowns and bridges — How crowns and bridges work and what patients need to know about maintaining them at home
- dental implants in Surprise — How implants are placed and maintained, including interdental cleaning guidance specific to implant patients
Want to Know How Your Technique Is Actually Holding Up?
The best feedback on your home care routine comes from a hygienist who can look at your actual gum tissue and tell you exactly what’s working and what isn’t. If you’re due for a cleaning, or if it’s been a while and you want a judgment-free place to start, our team at West Bell Dental Care is here. You can reach us at 480-795-2420 or visit westbelldentalcare.com to learn more about what to expect. We have appointments available Monday through Saturday, including early morning slots, so getting in doesn’t have to mean rearranging your week.